
| | 
|
|
| |
|
This is a delightful project of great simplicity which, we hope will give you great enjoyment.
It can be used as a Christmas card, a tree hanging, a gift tag - or whatever takes your fancy!


Make up a template for your star beam on graph paper first(See above). Transfer this template pattern to a piece of thin card and cut it out.
Step 2
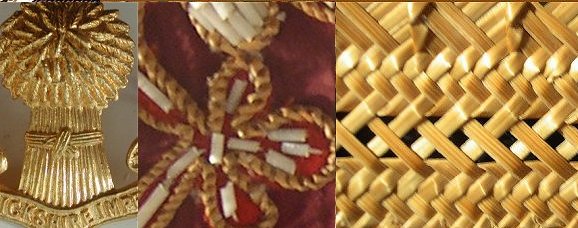
Prepare your straw. You will need straw that is hollow, i.e. straw that has a thin wall, not a thick wall or a pithy stem. If using the top section, cut off the head of wheat, then cut again just above the node. Slide off the leaf sheath. The middle section in between the nodes can also be used, but you will find it tougher. You now have a tube of straw.
Damp your straw slightly, (put it in water for a minute or two) then split it from top to bottom either with one scissor blade, a seam ripper, or one of the straw splitters specially designed for the purpose (Hindenburg.).
Carefully open the straw out flat. You will have one shiny side and one dull (pithy) side. On a flat surface, smooth the pith side with a flat bladed knife, a smoother or a Hindenberg. Gently scrape away the pith until you have a smooth flat ribbon of straw. Some people prefer to iron the straw flat (use a low temperature).
Place glue on the pithy side of your straw ribbon, and stick it on to the paper (so the shiny side is uppermost). If you have very narrow ribbons of straw, you may need to butt two pieces up against each other, but if you use a thick straw to start with, this should not be necessary.
Cut the spare paper away from round the straw, and turn over. Place your card template on the paper and draw round the pattern with a pencil. Try to line up the horizontals with the grain of the straw. You will need four star beams. Cut these out carefully.

With your ruler, measure and draw a short vertical centre line on your card. This will help you to place your first beam accurately. If you wish, you can also pencil in the horizontal line.

Place glue on the paper side of your star beam, and stick the beam on to the centre line (N/S). (as above)
Unsure of the Compass points then click here to show them.

Glue the second beam at right angles to the first one (E/W) forming a cross.

Glue the third beam diagonally on the cross (NE/SW).

Glue the fourth beam diagonally in the other direction (NW/SE).
Fold the card in half vertically and you will have completed your card.

If you do not have Acrobat® Reader® software then you may download the free program by clicking on the icon below:

Something Corny supply Dyed
Straws, Bleached Straws and Natural Straws. These items are available
by post from Elaine Lindsay.
Elaine is a member of the Guild and is experienced in many aspects of
straw craft.
Something Corny supply Plastic Straw Splitters.
Gordon makes tools for straw work and so a Hindenburg can be bought from him.
Gordon is a clock maker by profession; his tools are made to very high standards. All his tools are works of art in themselves.
Paperback. Pub. Wessex Press, Wantage, Oxon. (1984) ISBN 0 948644 00 1
Paperback. Pub. Reeves Dryad Press (1975) SBN 85219-091-3
Resources
Events, Exhibitions and Courses
Articles
Projects
A Greetings Card
(simple straw marquetry)