Tied Straw Stars

Have you admired those beautiful straw stars that appear round about Christmas time? Its never too early to start making some for yourself.
How to make a 16 or 32-pointed decorative star
You will need:
Tools
- Sharp scissors
- Clothes peg
- Bodkin (optional)
Materials
- 16 hollow straws, at least 15 cms (6 ins) for each star
- Strong thread for tying
Method for making a 16 or 32-pointed decorative star
It will help if the straws are slightly damp
- Step 1


- Tie four straws together in the centre by weaving your thread over and under the straws (see diagram and picture) and securing with a simple knot. This will give you 8 ends.
- Step 2

- With four more straws, make up a second 8-end bunch of straws by repeating Step 1
Place one bunch of tied straws on top of each other. Position them so that you can now join these two bunches together by weaving in and out, as in Step 1. Pull the thread in as closely to the centre as you can without breaking the straw. This will give you 16 ends. (see picture)
- Step 3

- With your remaining eight straws, repeat the process again to produce a second 16-end bunch of straws. Now place one bunch on top of the other, staggering the straws carefully, and weave in and out as you did before. This will give you 32 ends (and a fairly bulky bundled base for your star). (See picture)
- Step 4

- If you want a simple tied straw star, with the edges trimmed in a circle, or clipped into points, it is best to let your bundle of tied straw soak for a short while in a bowl of water, then allow it to dry flat underneath a weight. Once dry, you can trim the edges as you like. (see pictures above) Some of the inner ties can be removed, and you can add coloured thread to decorate your star.
- Step 5

- If you want to be a bit more adventurous, soak your bundle of straws in a bowl of water until the straws can be bent without breaking.
Take a bundle of three straws and cross the outside ones across the centre one, tying them together at the point where the three straws meet. (see picture). A clothes peg comes in handy to hold the straws in place while you are tying them. Make sure it is a secure knot (see Clove hitch).
Leave the next straw on its own.
Tie the next group of three straws together. Try to make sure your ties are all the same distance from the centre; it may help to mark the middle straw of the group of three with a pencil to mark where you will tie the others to it. The pencil will rub off easily afterwards.
Continue round the straw ends in this manner (3 tied, 1 single, 3 tied, 1 single, etc.) until youve gone all round.
Tip: Try bending the straws at a shorter or a longer length, and see how you can make each star different.
These will all look lovely on a Christmas tree, or attached to a gift-wrapped parcel. Or perhaps you could make a mobile of different sizes and designs of stars. Experiment and enjoy!
Variations
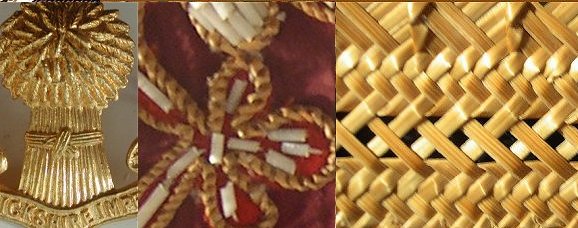
- Split a straw and add loops like the one below.

Click here to download a
printable version of this project using Acrobat Reader software.
If you do not have Acrobat Reader software then you may download the free program by clicking on the icon below:

Straw Suppliers
Use this link to get a list of
Straw Suppliers who may be able to supply you with the straw that is suitable for making straw stars.
Further Reading
Some of these
Books will have a section on straw stars.