
| | 
|
|
| |
|
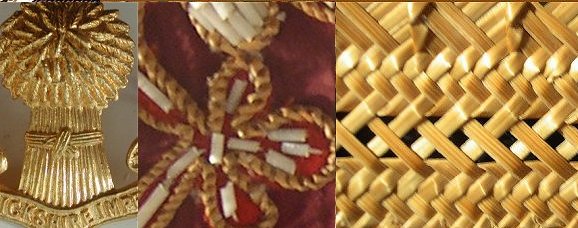
An ideal Christmas project. It can be adapted in many ways either as a Christmas tree decoration or glued onto a card.

Step 1
Tie 4 straws tightly together under the heads with a clove hitch. Spread out into NESW.

Step 2
Bring N down to lie by S. Take S up to where N was.

Step 3
In a similar move, bring E across to lie by W. Take W across to where E was.


Tip: Rule out a complete sheet of A4 white paper into 1.5cm squares, and keep this as your master copy.
Photocopy this sheet on to red paper. You can then easily cut out your single line of 8 blocks and your two squares of 4 blocks.

Step 1
Place glue on the pith side of your straw ribbon and stick it on the blank side of the long strip of red paper. If you are using thick straw, one straw ribbon should be sufficient to cover the paper, but if it is not, then you will need a second strip. Make sure the second strip is butted up to the first one and no paper shows through. If possible, allow to dry thoroughly under a weight.
Step 2
Turn the strip over, and carefully cut across the lines. This will give you eight identical straw squares.
Take one of the square pieces of red paper and fold in half on the central line, then open it out again (you will see why later). Now carefully stick four of your small straw squares in place using the lines as a guide BUT stick one square with the grain of the straw horizontal, and the one next to it with the grain vertical. Most important of all is to ensure that the squares meet in the centre. The outside edges are not so critical as they will be trimmed off. Now repeat this process with the other piece of paper and the remaining four straw squares. Again, allow to dry thoroughly under a weight, if possible.

Now take your card heart template, and trace off the shape onto the back side of each of your two squares, lining up the heart on the central crease that you made earlier. Cut out each heart.
On the paper side of one of the hearts, secure your piece of red cotton thread with a very small piece of sticky tape, then stick the two hearts together, back to back. Trim if necessary.

Secure the heart to the straw ring, allowing it to hang freely.
With the remaining thread make another loop as a hanger.
Add a sprig of holly to a plaited ring for a simple Christmas tree decoration.

Glue a heart on to a contrasting colour card to make a gift tag , or use it on its own as a Christmas tree decoration.

Using the blocks technique, you can prepare a much larger sheet of marquetry squares and paste this onto a card blank. An aperture card such as this heart shape is ideal.

If you do not have Acrobat® Reader® software then you may download the free program by clicking on the icon below:

Something Corny supply Dyed
Straws, Bleached Straws and Natural Straws. These items are available
by post from Elaine Lindsay.
Elaine is a member of the Guild and is experienced in many aspects of
straw craft.
Something Corny supply Plastic Straw Splitters, Star Frames and Instruction Books.
Gordon makes tools for straw work and so a Hindenburg can be bought from him.
Gordon is a clock maker by profession; his tools are made to very high standards. All his tools are works of art in themselves.
Paperback. Pub. Wessex Press, Wantage, Oxon. (1984) ISBN 0 948644 00 1
Paperback. Pub. Reeves Dryad Press (1975) SBN 85219-091-3
Resources
Events, Exhibitions and Courses
Articles
Projects
Christmas decoration
(Compass Plait and straw marquetry)